What you need -
freezer paper
design to trace
iron
fabric
fabric paints
x-acto knife
scotch tape
pen
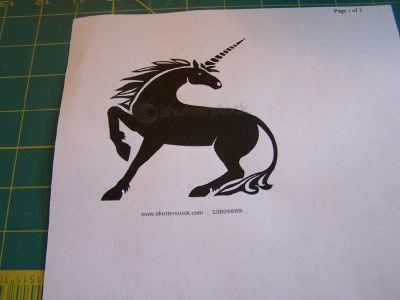
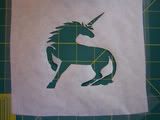
Step 1 - Pick a design you want to trace. I go to google and type in what i want to find something. ** TIP - type in silhouette to whatever you are looking for ex: unicorn silhouette, that will get you nicer black and white pictures that are easier to trace and cut :-)
Print out design on regular computer paper. If it's not dark enough, change your printer settings darker so it's easy to trace.
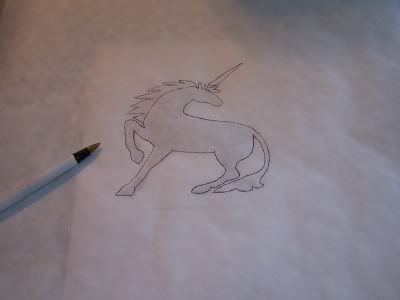
Step 2 -
Lay the freezer paper over your template and trace carefully with a pen ( i wouldn't use pencil as i worried the pencil would smear into the paint, i've never had issue using a ball point pen).
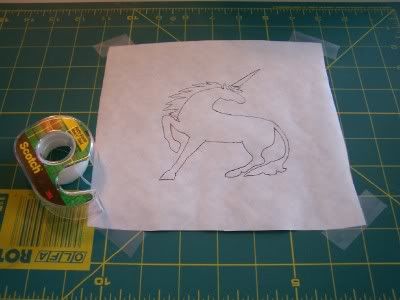
Step 3 -
Cut the freezer paper down to a manageable size, leaving enough around your image to catch any sponge overs of paint.
Tape down to a self healing cutting mat.
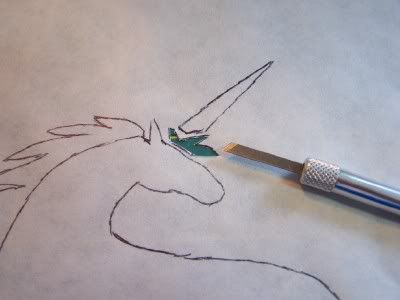
Step 4 -
Carefully cut out your design using an x-acto knife. Cut the smallest areas out first and then the larger areas. Just take your time and go slow.
Step 5 -
Carefully remove from cutting board and cut off tape around edges, do not attempt to fold tape over, you could end up ironing it to your shirt or making a very sticky mess. Also you don't want to rip it off for obvious reasons, you'd probably rip your template after all that hard work. TIP - leave your piece extra large after tracing to have extra freezer paper to cut off w/ the tape.
Step 6 -
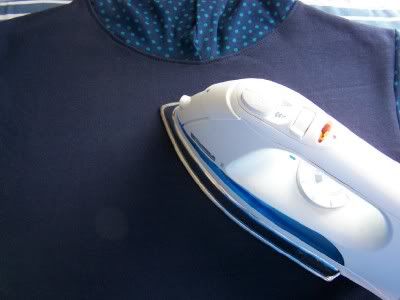
Iron your fabric or clothing you are applying it to.
Step 7 -
Place stencil where you'd like the design, and carefully iron over it until the template is fused to the shirt. Going over the small areas very carefully so you don't wrinkle/bend the template while ironing.

Step 8 -
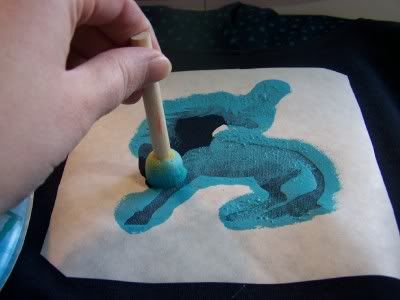
Let the template/shirt cool. And gather your painting supplies. I use fabric paints i bought at JAs and a sponge dabber. I also use a paper plate to squirt my paint on and dab my sponge so it's not too saturated w/ paint.

Step 9 -
Carefully dab your paint over the stencil. I do one coating then let it dry a bit and decide if i need to add more layers to make the design darker. In this case i did 3 layers total as i was working on a navy sweatshirt fleece.
Step 10 -
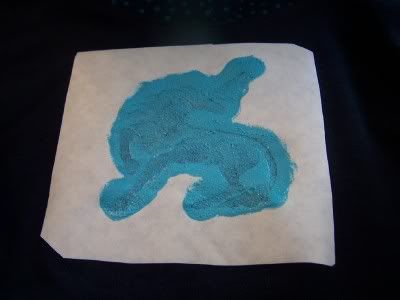
Let it dry w/ the freezer paper stencil in place for at least 30 minutes. You can wait until it's totally dry if you want, but i'm always too anxious and want to look.
Step 11 -
Very carefully peel off the freezer paper. I just go really slow and watch the parts w/ delicate pieces.
ENJOY!

Let it dry completely. I usually wait 24 hours to be sure, but you can check your paint bottles to see what they recommend. Same goes for washing/drying. I generally turn inside out to wash on cold and then i hang to dry.
Have fun!